
Interview transcription
How to Transcribe Customer Interviews: A Research-Ready Workflow
Turn customer interview recordings into consistent, reviewable transcripts with speaker labels, timestamps, privacy checks, and a clear path into analysis.
The short answer
To transcribe a customer interview, first decide how much spoken detail the study needs. Record with permission, preserve the original file, create a timestamped draft with clear speaker labels, and review every passage that may affect a finding or become a quotation. Standardize names and terms before analysis, then keep a way to return from the transcript to the source audio.
A research-ready transcript does not have to reproduce every breath or filler word. It does need to preserve meaning, make speakers distinguishable, show where important passages occur, and document material corrections. The right level of detail depends on how the transcript will be used.
1. Choose the right level of transcription detail
Start with the research method, not the software. Three common levels are:
- Clean verbatim: removes repeated filler words and false starts while preserving meaning. This often suits product discovery and customer research.
- Full verbatim: retains filler words, repetitions, pauses, and incomplete sentences when the way something is said matters.
- Selective transcription: covers only chosen sections. It can work for narrowly scoped review, but it is easier to miss context or contradictory evidence.
Write the convention down before processing the first recording. Applying one standard across the study is more useful than making each transcript individually perfect.
If the team expects to publish quotations, define how omissions, unclear audio, interruptions, and non-verbal events will be marked. Do not silently polish a participant’s words into a stronger claim.
2. Prepare the recording before transcription
Transcription quality begins during the interview. Use the clearest available microphone, reduce background noise, and avoid placing multiple participants far from one device. When possible, capture each speaker on a separate channel.
After the session:
- keep the untouched original recording;
- use a stable file name such as
study-participant-date; - record the language and relevant accents or specialist vocabulary;
- note any missing section, connection failure, or off-record conversation;
- separate observation notes from what the microphone actually captured.
Body language, a failed click, or something shown on screen may matter to the research but will not appear in an audio transcript. Preserve those observations as notes rather than pretending they were spoken.
3. Confirm consent and data-handling requirements
Before uploading a recording to any service, check what the participant agreed to and what the study’s data plan permits. Confirm whether external or automated processing is allowed, who may access the media, how long files should be retained, and whether names must be replaced with participant IDs.
Do not treat transcription consent as a generic checkbox. A study may allow recording for internal analysis but restrict external processing or the publication of direct quotations. When the requirement is unclear, resolve it with the person responsible for the research rather than guessing.
4. Create a structured first draft
Whether the first draft is produced manually or automatically, give it a predictable structure:
- participant or speaker ID;
- timestamp at useful intervals or each speaker turn;
- spoken text;
- explicit markers for unclear audio;
- optional researcher notes kept visually separate from the transcript.
Automatic transcription is a draft, not evidence by itself. Names, acronyms, product terms, numbers, and overlapping speech deserve special attention because a plausible-looking error can quietly change the meaning of a passage.
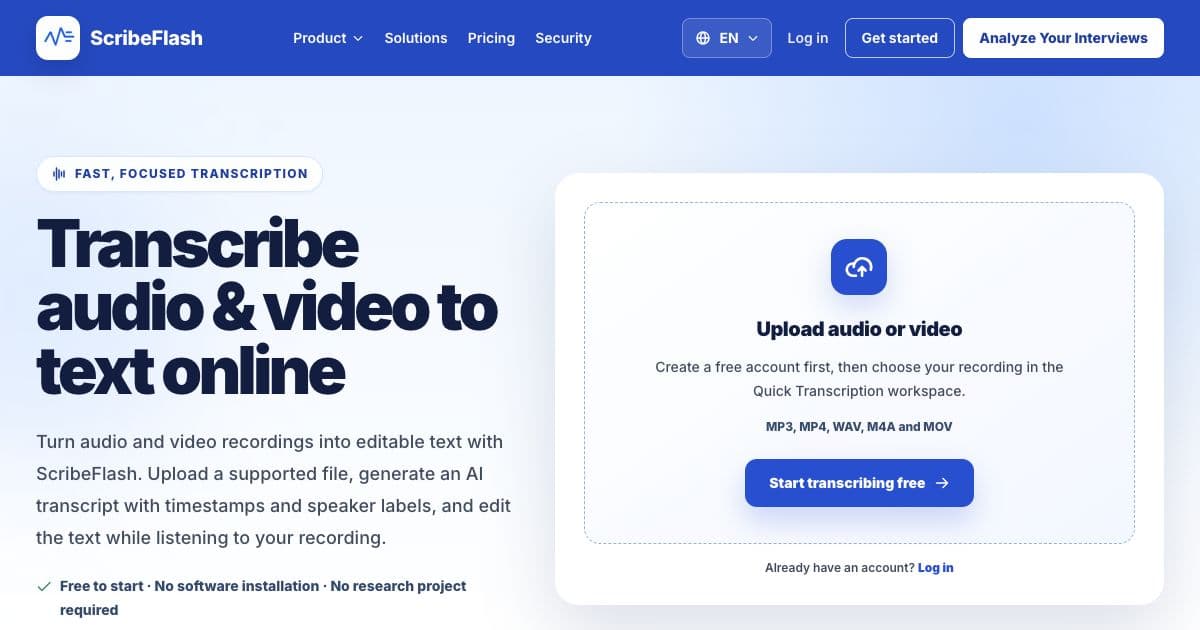
For a focused upload path, review the audio and video transcription page. For a project-based research workflow, keep the recording, transcript, and later evidence in the same study context.
5. Review the transcript against the audio
Review high-risk passages first:
- statements likely to become direct quotations;
- passages tied to the main research questions;
- names, prices, dates, measurements, and technical terms;
- sections with overlapping voices or poor audio;
- sentences where one changed word would reverse the meaning.
Listen to a few seconds before and after each important excerpt. Context often explains whether a statement was hypothetical, sarcastic, prompted by the interviewer, or limited to a particular situation.
The transcript review guide explains how speaker names, text corrections, timestamps, and synchronized playback fit into the ScribeFlash workflow.
6. Standardize names, speakers, and terminology
Consistency makes later searching and coding more reliable. Choose one form for each product name, role, acronym, and participant ID. Merge duplicate speaker labels and distinguish the moderator from participants.
A glossary is useful when the same specialist language appears across interviews. It should help the team spell and interpret terms consistently, not replace source review. If a correction changes what the participant meant, record it as a material edit.
Avoid replacing a participant’s informal expression with company language. Researchers often learn from the words customers naturally choose.
7. Prepare the transcript for analysis
Before coding begins, attach the transcript to the study’s research questions and participant context. Confirm that a reviewer can move from any saved quotation back to the surrounding text and, when permitted, the corresponding recording.
Then separate three layers:
- source transcript: what was said;
- observation or memo: what the researcher noticed;
- analysis: codes, themes, and candidate findings.
Keeping these layers distinct reduces the risk of an interpretation being copied into the record as if it were a quotation. Continue with the customer interview analysis workflow or the qualitative interview coding guide.
Transcript quality checklist
Before calling a transcript ready, verify that:
- recording and processing permission match the actual workflow;
- the original media has not been overwritten;
- speaker identities or participant IDs are consistent;
- important names, figures, and quotations were checked against audio;
- unclear passages are marked rather than guessed;
- timestamps return reviewers to the right context;
- observations are not presented as spoken words;
- material corrections are saved before coding begins.
The goal is not a cosmetically perfect document. It is a dependable source that another person can inspect, understand, and use without losing the participant’s meaning.
Turn an interview recording into editable text
Open the transcription workspace, review the available workflow, and prepare your recording for analysis.